

Photoshop Bring Layer To Front
Personally, I can't understand why anyone wouldn't use layer masks in Photoshop. On a basic level, layer masks simply mask off areas of an image so that you can place backgrounds behind them or use them as "floating" elements in InDesign layouts, for example.
Save yourself valuable time with these free Photoshop brushes
Rather than deleting all of the information that you don't need, if you use the copy and paste method, layer masks are non-destructive and simply hide that information. This gives you much more flexibility if you ever want to go back and edit the original file or if you make a mistake.
Over the next five steps I'll run through the basics of setting up and working with layer masks and also demonstrate how they can be used to achieve some pretty striking effects in product photography.
01. Basic layer mask principles
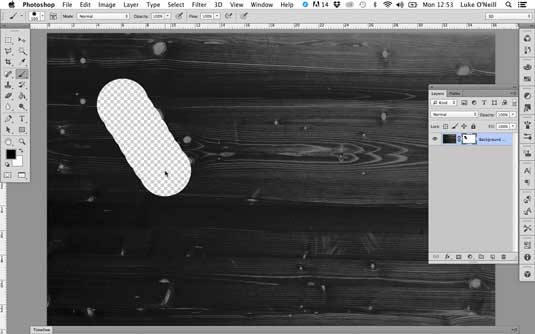
Begin by opening any image from your hard drive and ensure that the layer it is on is unlocked. Now hit the add layer mask button at the bottom of the layers panel and you'll notice that a small white thumbnail is linked alongside your layer image.
You may also have noticed that the foreground and background colours in the toolbar have switched to black and white. Layer masks work by using black or white to either subtract or add to the layer mask. Experiment by brushing on black to erase elements of the image and then adding elements back in with white brush strokes.
You can toggle between the two easily by holding "shift + x". Always make sure the layer mask thumbnail is selected in the layers panel otherwise you'll be painting black or white onto the actual layer.
02. Working with selections
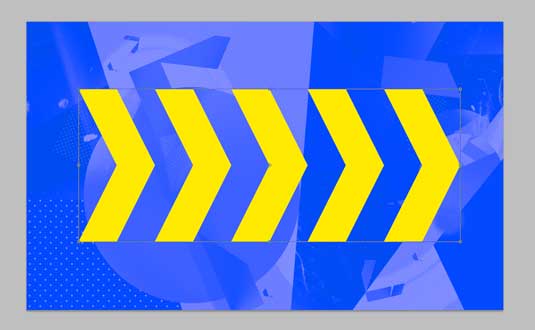
Layer masks work brilliantly with selections as well, you can either simply use the selection tools in photoshop for simple rectangular or ellipse selections or you can import your own graphics to make selections from.
For example, if you have a vector graphic that you'd like to make a selection of simply copy and paste it into Photoshop, hold cmd and click on the layer to make a selection of it, then select the layer you want to mask and hit the layer mask button. To invert the mask simply select the layer mask and hit "cmd +I " to invert it.

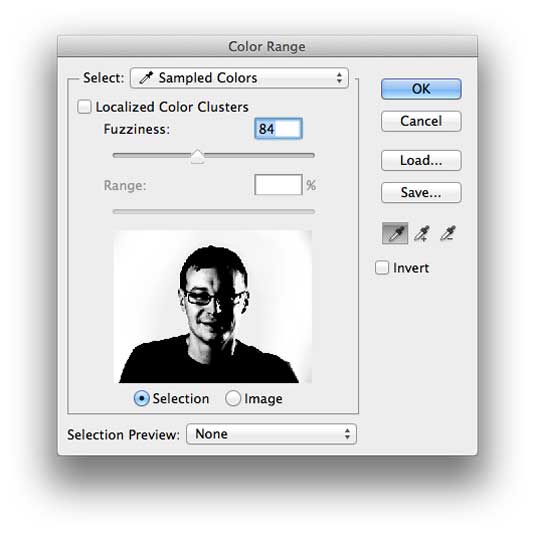
The colour range tool is a powerful ally when used in conjunction with layer masks. if you have complex areas of detail such as hair and the subject is on a fairly flat background then you can simply use the colour range tool to make a selection and then create a layer mask from the selection.
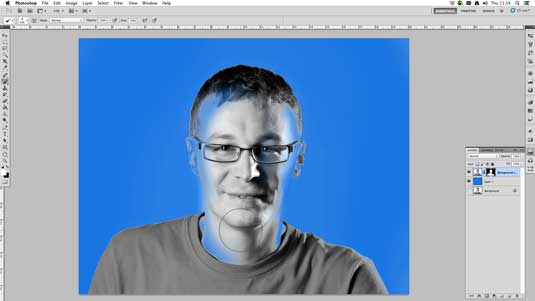
In this headshot you can see that areas of the background are showing through and now all you need to do is brush back in these areas whilst maintaining the fine detail of the hair.
04. Colour overlays (A)
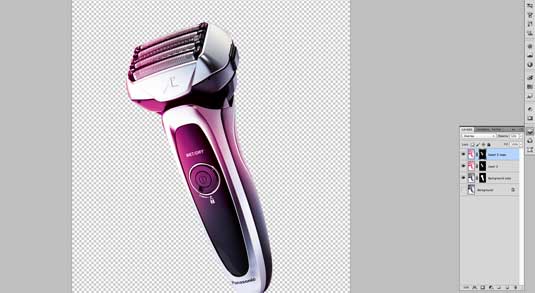
Next I'm going to demonstrate a neat trick that I use quite often with product photography. Sometimes you'll shoot something without knowing what colour background it'll be placed on or simply be provided with images that have been shot on white backgrounds.
This can look a bit unnatural when placed on a coloured background but there is a quick trick that can help. Begin by masking off the product completely. Hold cmd and select the layer mask to make a selection, then copy and paste the image into a new document.
Convert the doc to grayscale and then to duotone. Choose a colour that matches the lightest shade of the colour used within you background, in this case a magenta mix.
05. Colour overlays
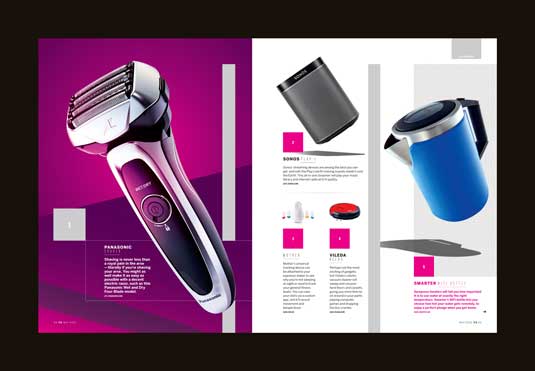
Now copy the duotone and paste it back into the original file so it sits precisely over the top of your original product. Set the blending mode to overlay and adjust the opacity until you're satisfied. Now for the really cool bit.
With a large soft round brush begin brushing away at the duotone layer so that only the coloured areas are left in the highlight areas of the image. You can adjust the opacity of the brush to create more subtle blend effects. Now simply place the image on top of your chosen background and you'll notice a world of difference in the way that it gels together.
Words: Luke O'Neill
Luke O'Neill is the art editor on T3 magazine.
Like this? Read these...
- Free graphic design software available to you right now!
- Download the best free fonts
- Free Photoshop brushes every creative must have
Photoshop Bring Layer To Front
Source: https://www.creativebloq.com/computer-arts/working-layer-masks-photoshop-61515108
Posted by: cooktheartumety.blogspot.com
0 Response to "Photoshop Bring Layer To Front"
Post a Comment