

How To Change The Primary Blog On Tumblr
carrd tutorial
another tutorial for the folks in the @artistsclub discord server!
this time for making a carrd!
i had some trouble figuring it out at first, but i absolutely love it now! once you get the hang of it, it's pretty dang user-friendly, and it's a great way to get all your links and info all in one place.
let's start off with some helpful links!
- carrd (carrd site)
- unsplash (free stock images, great for images to use on your carrd)
- html colors from image (a site where you can upload a picture and get an html color code from any color in the image)
this post ended up being kinda long, so for ease of navigation, here's all my subheadings so you can ctrl+f for certain sections
- let's get started
- making an account
- first page
- text elements
- images
- pages
- container options
- table elements
- icon elements
- background
for the purposes of this tutorial, i'm going to be making a new carrd page for one of my ocs, shit fox! also, please note: this is just how i personally make carrds! once you start to get the hang of it, play around with it! see how you like to do things!
let's get started
the front page of carrd looks like this

if you don't already have an account, you'll want to hit "choose a starting point" and if you do, then you'll want to hit "log in" and get signed in! for this tutorial, i'm going to go off the assumption that you don't already have an account.
when you hit choose a starting point, you'll get to this page
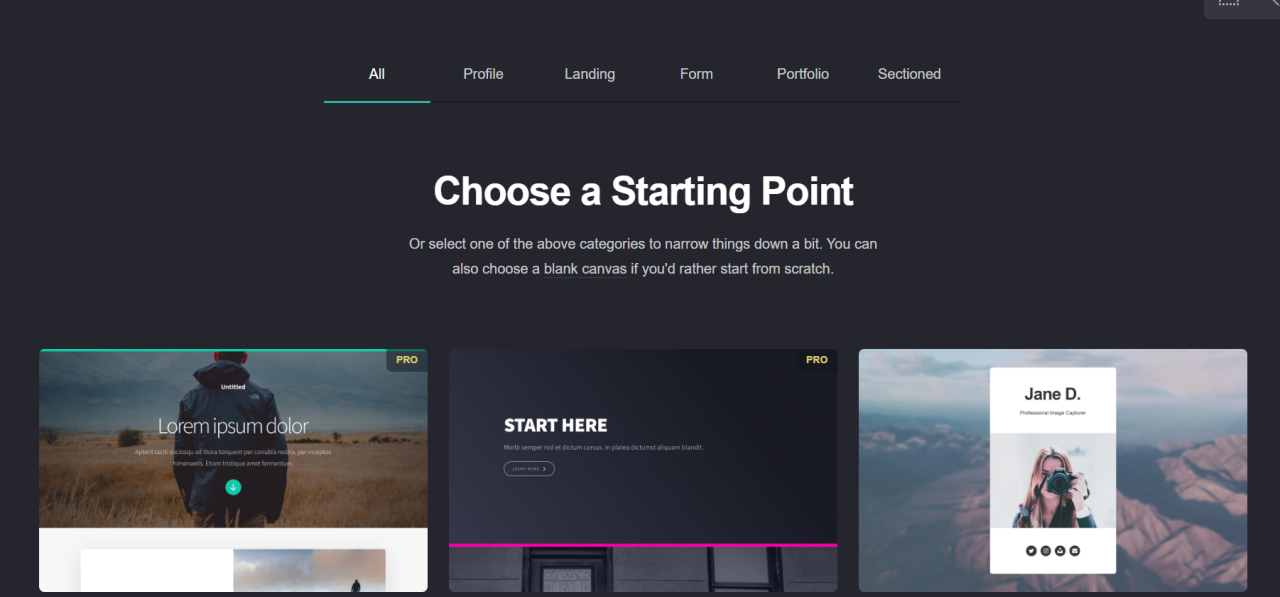
i always start with a blank canvas. to do that, just click on the words "blank canvas" in the "Choose a Starting Point" blurb. here's what that looks like:

making an account
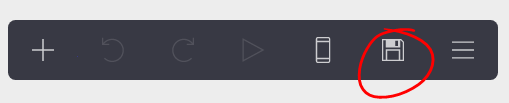
i know this might feel a little overwhelming, but don't worry, it's not as complicated as it feels! let's start with making you an account so you don't lose your progress! hit that save button in the upper right corner:
and you'll get a little popup with some info for you to fill out
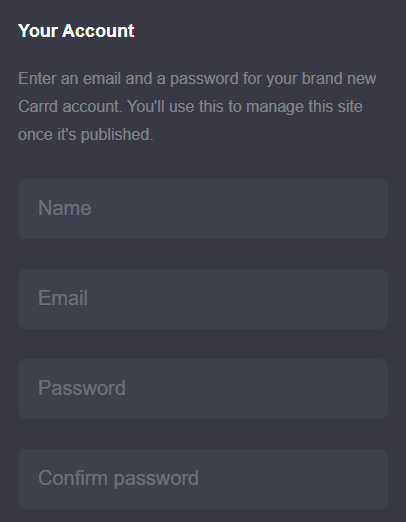
this is all pretty self-explanatory so far, but there is a bit more info you'll have to provide that we'll get into a little bit more.
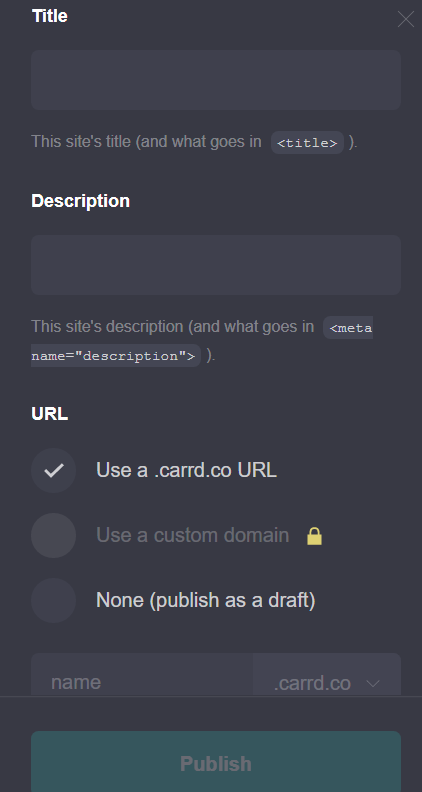
Title: this is what's going to show up on the tab when people open your carrd.
Description: this will show up on certain sites or chat clients as a blurb when you link your carrd.
URL: this'll be your carrd link! you don't have to pick one, yet, but i like to pick one right when i start off to make sure i've got the url that i want.
Here's what my example looks like, for reference:
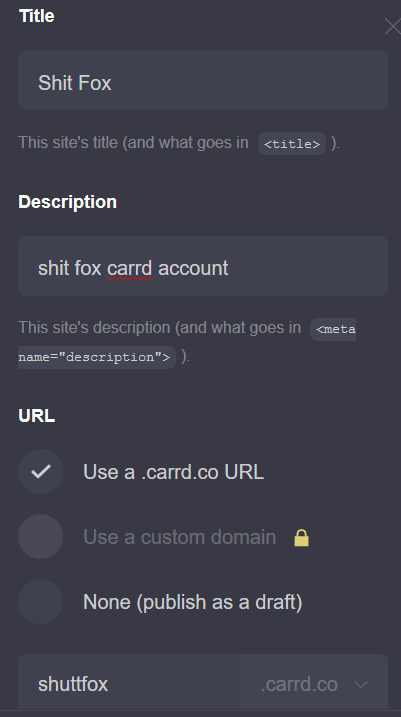
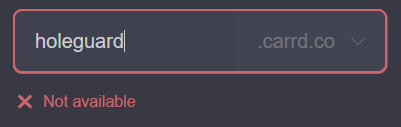
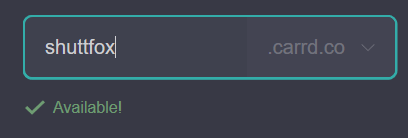
Note: carrd will let you know right away if the url you've entered is taken
once you have everything filled out, hit publish! you'll need to confirm your email before the site will properly go live, so don't forget to do that!
and don't forget to save! at any point during the process, you can shift+click that same save/publish button, and it'll quick-save all your progress. if you want to change any of your settings for your card (like the url, title, or description), you can click the save/publish button (rather than shift+clicking) and it'll bring back up that menu
first page
i think i'll have an easier time explaining what each thing does if i walk you through how i personally make carrds, so that's how i'm going to do this. i like to have my first page be a kind of "landing zone" with a title and buttons, so let's start there.
containers are a great way to have several elements grouped together. it's basically a box where you can put in a bunch of elements and they'll all stay inside that box neatly
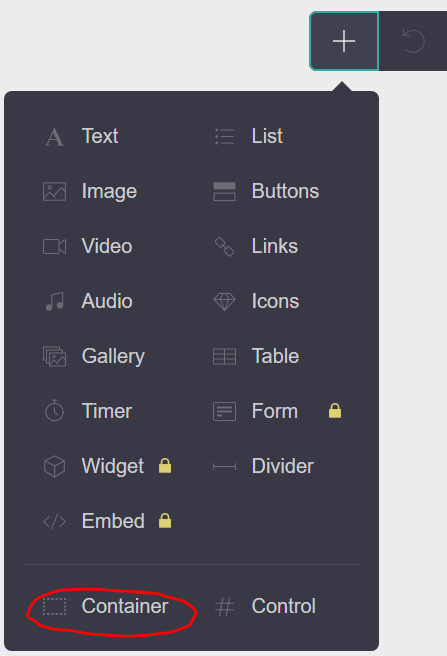
so what i'll do is add a container with this button
and that will give me something that looks like this
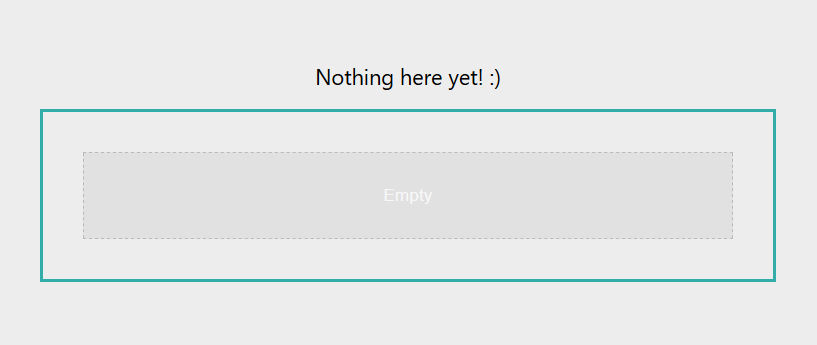
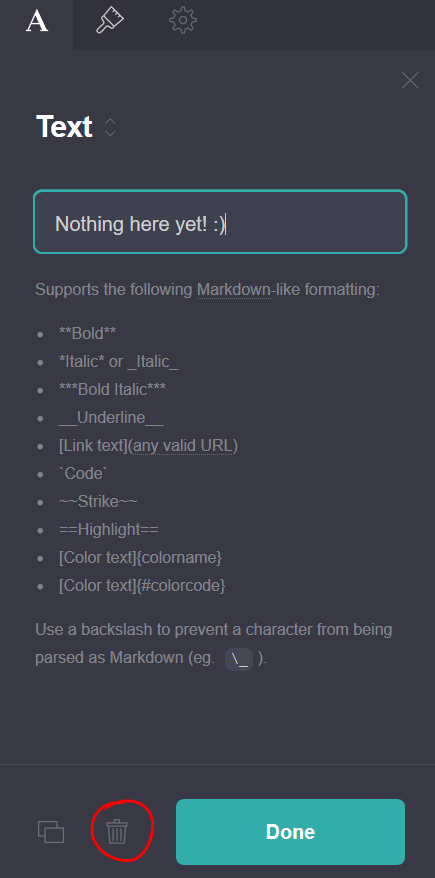
you can drag-and-drop the text element that says "Nothing here yet! :)" into the container, or you can just delete it. to delete any element, click on it, and then hit the little trash can icon on the sidebar that pops up
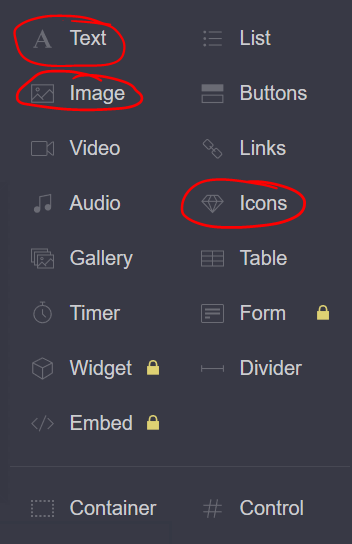
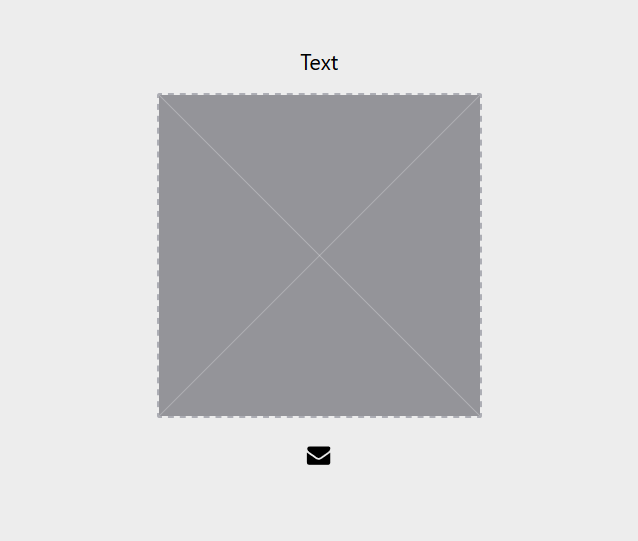
let's add some elements to our container! click the container to select it, then hit that plus button again. I'm going to add a text element, an image element, and an icons element
now our container looks like this!
text elements
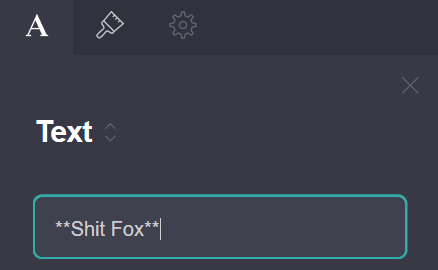
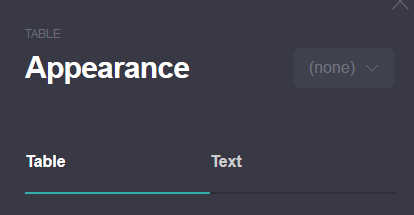
let's start off with the text. this is going to be my title, and i want it in bold, so i'm going to use the text formatting guide and enter in my text with asterisks so it shows up bold
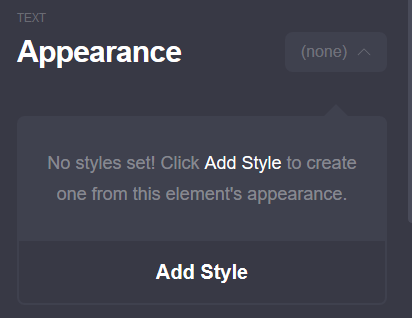
now, you'll notice at the top that we've got three tabs. the first two tabs are the only ones we're going to focus on, because the settings tab is only available for pro. let's hop on over to the paintbrush (appearance) tab. the first thing we have here is "styles" and they're super useful for keeping things consistent between pages and elements.
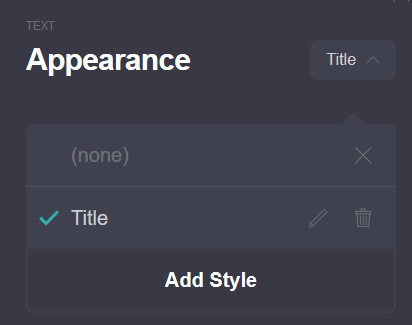
i want to keep all my titles looking the same, so i'm going to start off by adding a style, calling it "Title", and applying it to the text. Then, any changes I make to the appearance of this text will get saved to my "Title" style, which i can use later anywhere else on my carrd
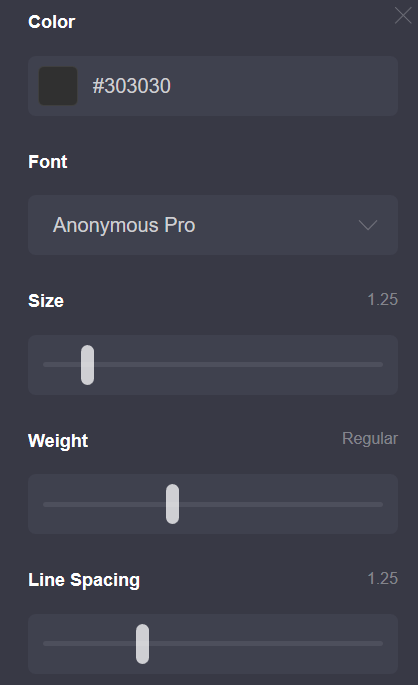
right, so how do i want my title to look? we have a lot of customization options to choose from! you've got color, font, size, weight, line spacing, letter spacing, margins, appearance, and alignment! here's the settings that i picked for my title
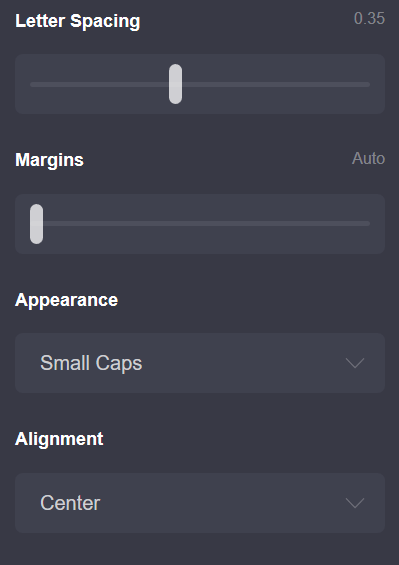
and here's what it looks like!
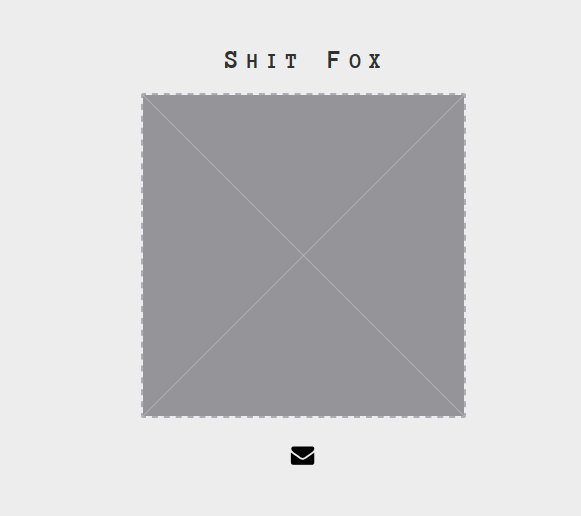
play around with your customization options and find something that works for you and the look you want to go for.
images
let's add an image here. click on the image element and hit "upload." it'll give you the option to crop and edit the image once you upload it, which looks like this:
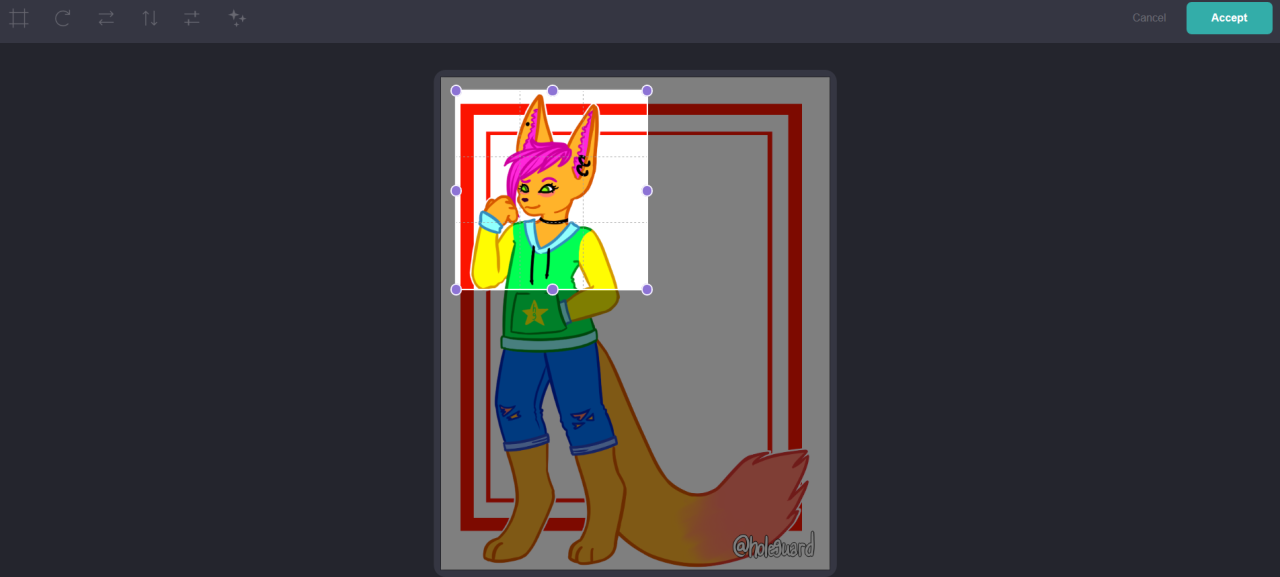
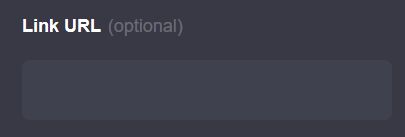
i'm going to crop mine to be more of a close-up on shit fox, but you can crop and edit your image however you want! if you want your image to link somewhere, you can scroll down from the upload button and paste your link here
let's move on over to that paintbrush tab again. there's a good amount of options here, too, and you can use "styles" again!
something important to note is that if you turn "width" all the way down, it switches to "auto" and gives you a "scale" option instead, which scales your image based on its original size.
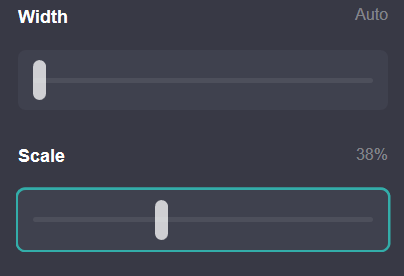
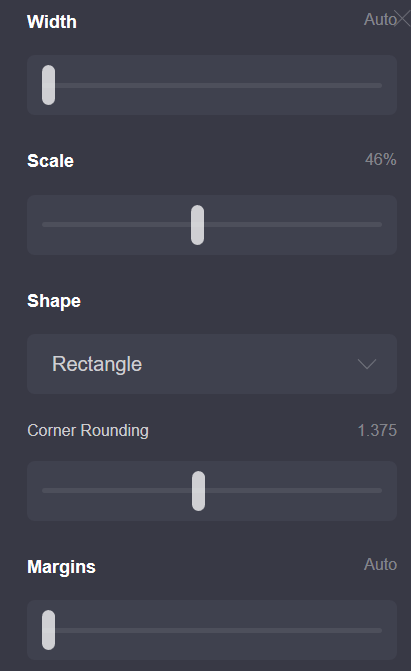
again, just mess around with these and see what you like! here's what mine looks like, if you find a reference helpful:

we're going to skip past the icons and come back to them. i use those for page navigation, and that's easier to do if you already have your pages set up
pages
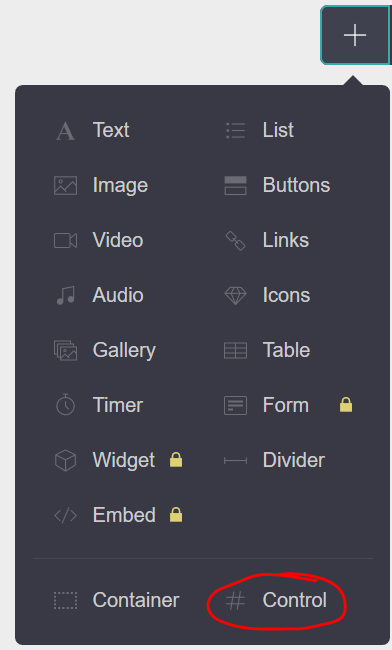
so, carrd actually calls these "section breaks" and they're under the "control" element, so go ahead and add one
give your new section a name! i'm going to be doing an "about" page next, so i'm calling mine "#abt"
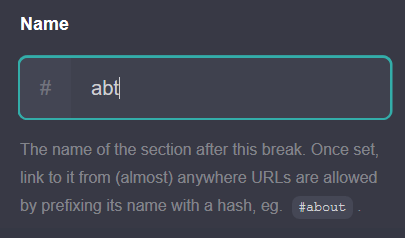
the "name" is what you'll use to link between pages. anywhere on carrd that you can paste a link, you can paste a section name! for example, if i want something to link to the about page i'm going to create, i could just put "#abt" into the link box, and it would direct anyone who clicked on it to my about page!
here's what things look like so far
anything below that "— #abt —" marker will be on my section called "#abt", which will function as its own separate page! all of the stuff above it has been automatically assigned to a section named "#home".
container options
on my about pages, i like to have an image next to the text. to do that, we're going to use another container. i'll start by adding a container element, then two text elements and an image element.

then, i'm gonna select the container element (if you have trouble finding it, hover your mouse to one side or the other of any of the elements inside of the container, and you should be able to see a dotted line that tells you where the container is. if you're on mobile, just tap off to the side from any of the elements inside the container)
change the type of container from default to "columns"
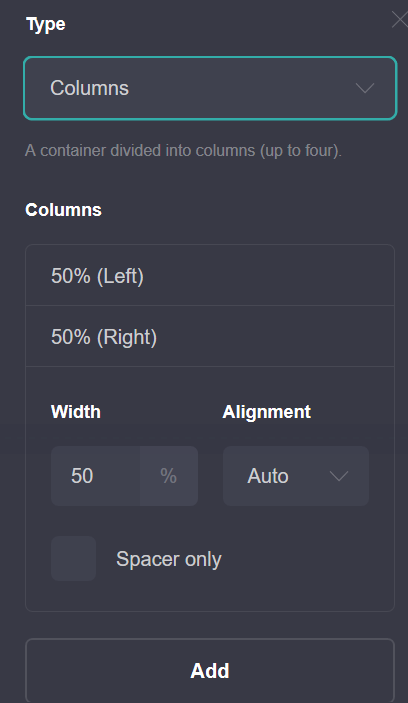
here you can edit the ratios of the columns and add more columns. i'm only going to use the two columns, but you do you, boo!
now i'm gonna drag and drop the elements in the container to the columns and places i want them in
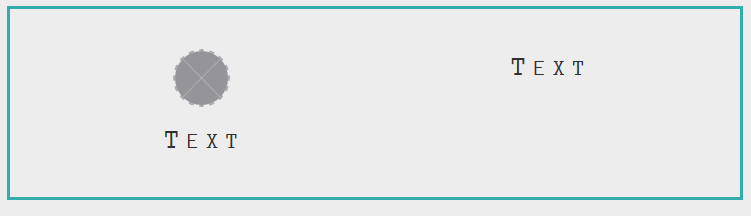
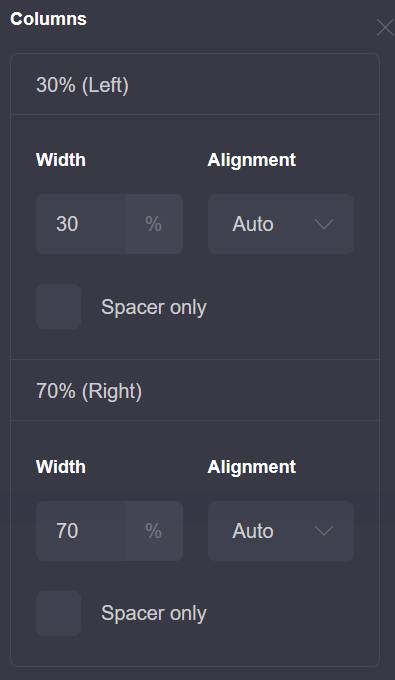
and i'm going to adjust the ratios of the container columns

and then it's just a matter of customizing the text and image elements to look how i want them to!
i got partway through doing that, and decided i didn't like how it looked. that's one of the things i really like about carrd. it's not a super big hassle to change things up if you change your mind.
i'm going to delete the second "text" element and replace it with a "table" element
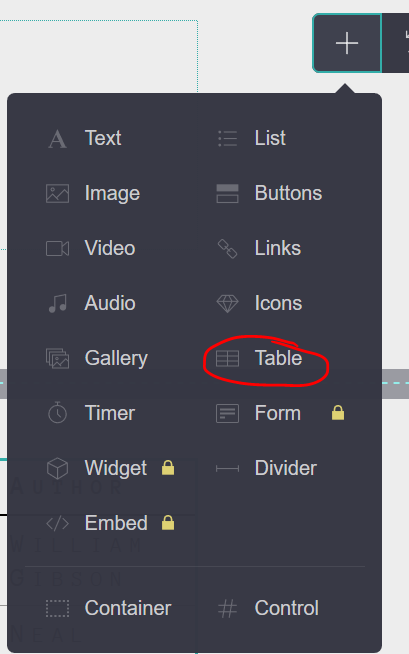
table elements
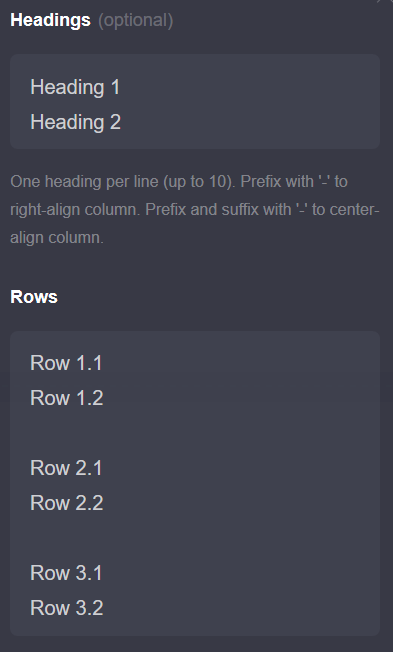
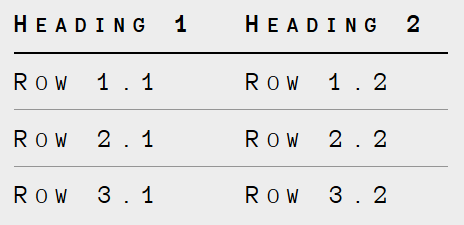
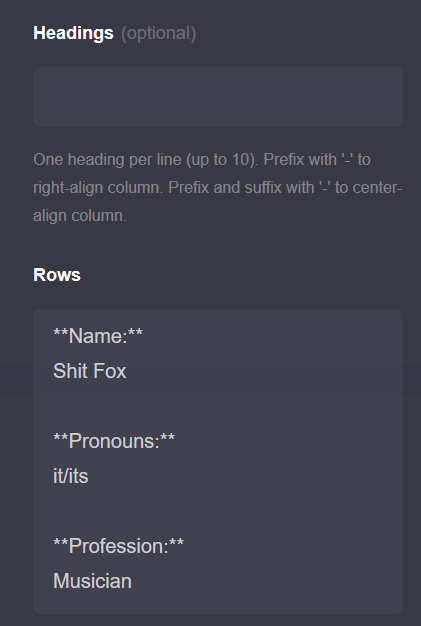
i'm having a bit of trouble trying to figure out how to word an explanation of how the sections of the table options work, but hopefully these two images kind of help explain it?
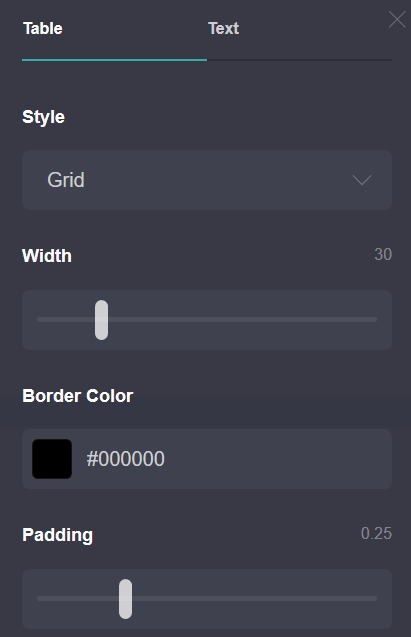
over in the paintbrush tab, you've got two sections: "table" and "text"
the table section gives you options like style (minimal, or grid style), width, border color, and padding. the text section gives you all the same text options as the text element gives you! here's what mine ended up looking like:
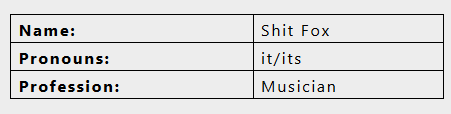
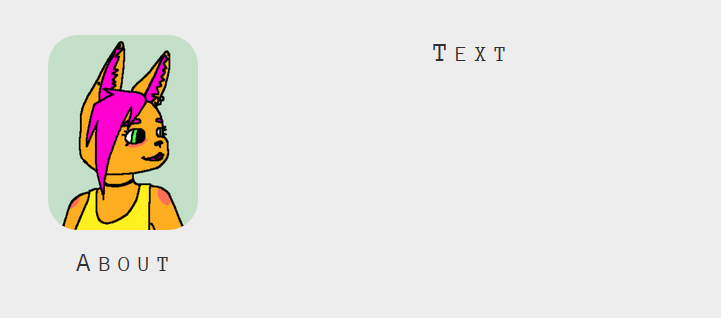
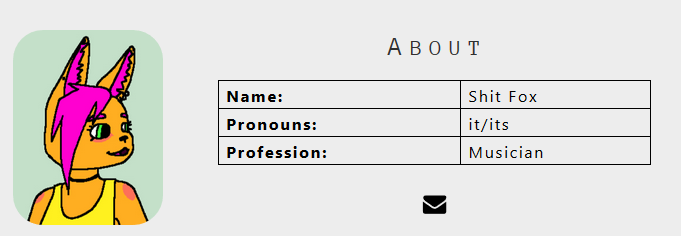
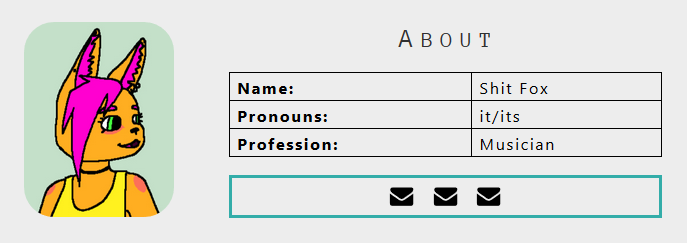
i added another icons element and moved the "text" element, and here's what Shit Fox's about section looks like:
icon elements
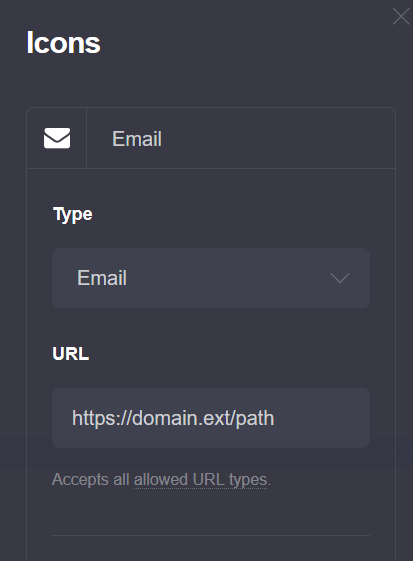
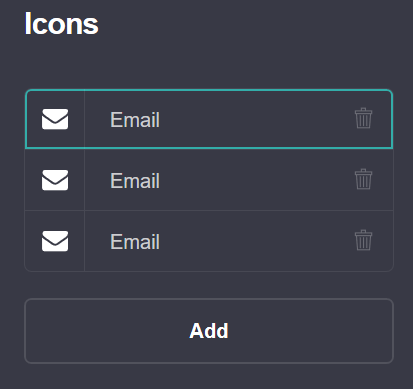
now let's talk a bit about those icon elements that i skipped over. i absolutely love them for navigation. there's a bunch of icons for you to choose from. let's start with the icon element on the first page we worked on. when we click on that, we'll get a sidebar popup. click on the icon itself (in this case, email) to edit it!
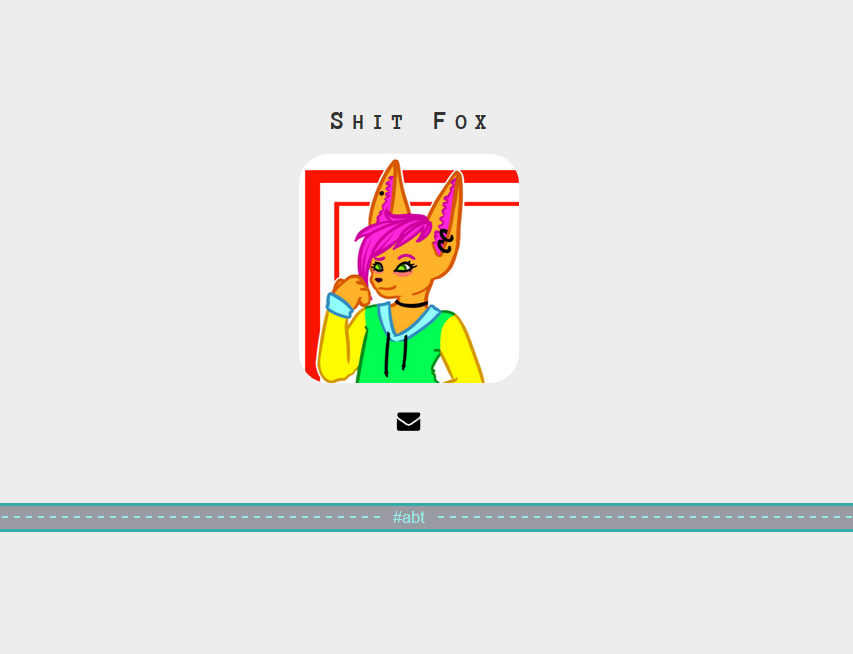
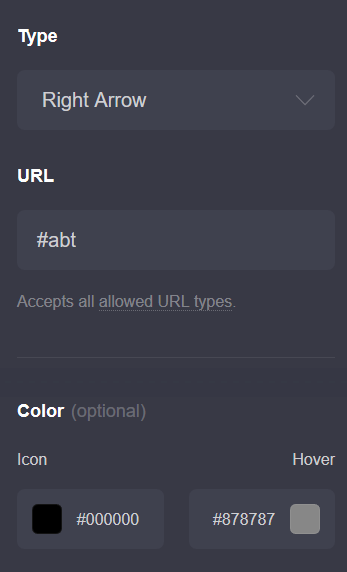
i picked the "right arrow" icon, and i want it to take the viewer to Shit Fox's about page, so I set the url to "#abt" i want the icon to be black, and then to turn grey when the viewer hovers over it, so i set those accordingly!
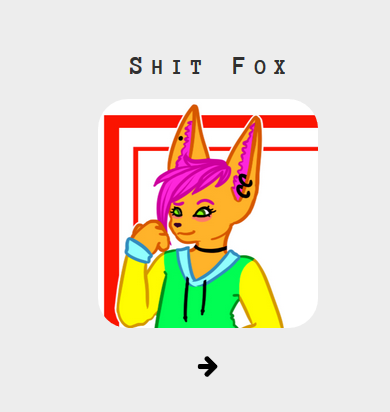
so here's what our first section looks like, now!
now we're gonna hop on over to the icons element on the about section, and we'll get into the part i find fun. i'm gonna add some icons!
and then some customization:
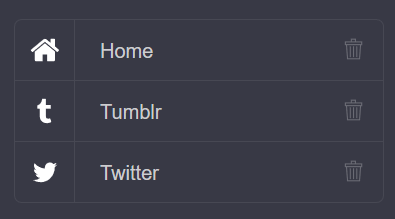
the home icon leads to the front page of the carrd, the tumblr icon leads to my Shit Fox tag on my art blog, and the twitter icon links to the @artistsclub twitter account!
background
personally, i kind of like the default background color, but if you want to change it, here's how. click on the background of your carrd (anywhere that isn't an element!) and you'll get this popup
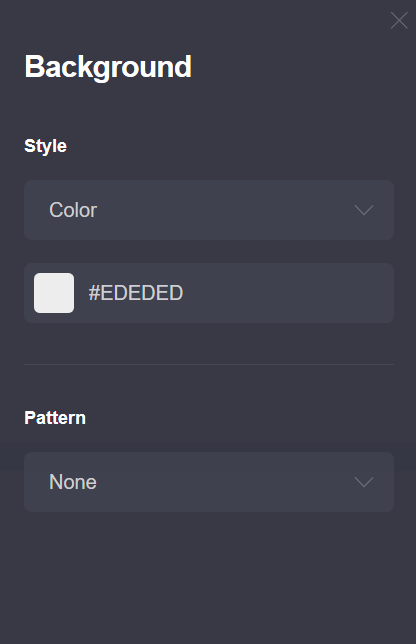
you can set the style of the background to a solid color, a gradient, an image, or a video.
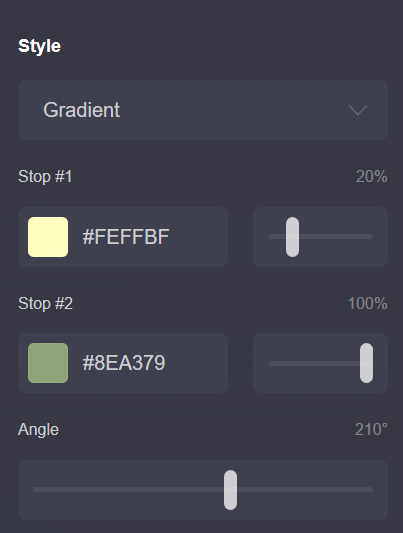
i'm going to set it as a gradient between a pale yellow and a pale green
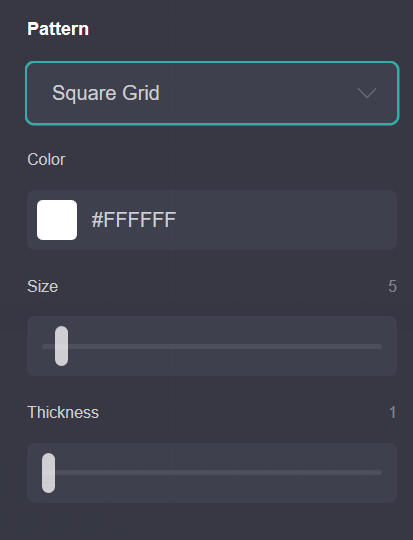
and i'm going to add a white square grid pattern
note: please be careful when adding and editing a pattern, as sometimes making changes to the "thickness" of the pattern can cause flashing as your changes load in
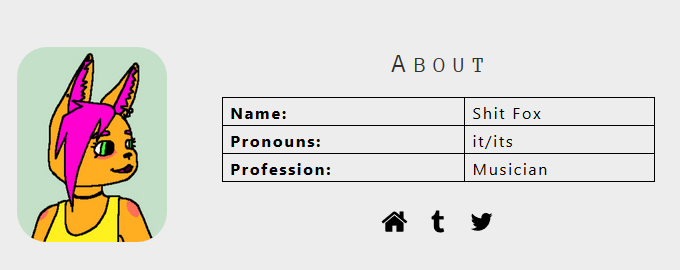
and here's what it looks like!
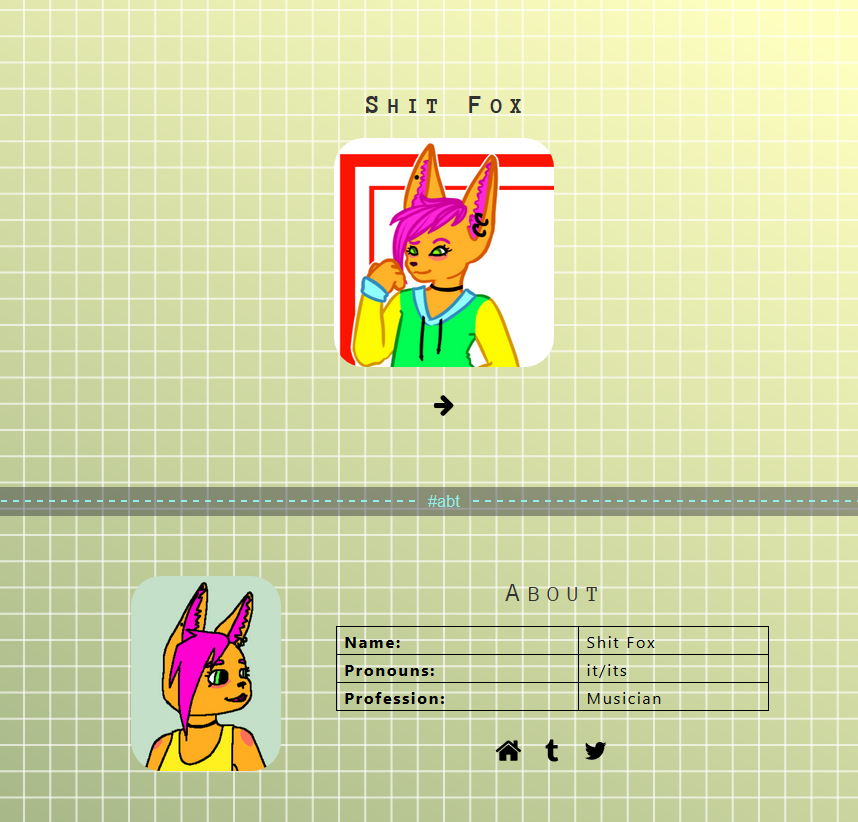
that's the basics on the parts of carrd that i usually use! a lot of the other bits are a lot easier to figure out once you've got a handle on these bits, but if you have any questions, feel free to send me an ask or to message me on the discord server <3 best of luck and happy carrd making
How To Change The Primary Blog On Tumblr
Source: https://holeguard.tumblr.com/post/189143574769/carrd-tutorial
Posted by: cooktheartumety.blogspot.com
0 Response to "How To Change The Primary Blog On Tumblr"
Post a Comment